
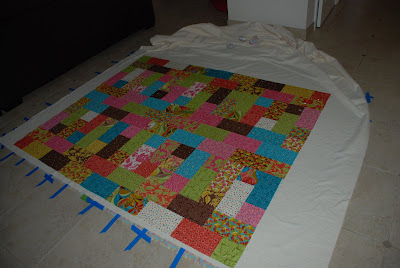
I lay out the quilt bottom and and pull it very taut and then tape it down every 3-4 inches with painters tape. Every few strips I reinforce the tape with another piece crossed over. I think getting the bottom part as stretched out and tight as possible is the key to a pucker-free quilt. I try lining one edge up against the grout line on my tiles, but i'm not too stressed about this on the bottom (more concerning if you are perfectly matching a backing design to the top design)
Then I lay my piece of batting on top (i'm highly partial to warm & natural batting in cream. I like it because it is thinner and very soft (not that you feel the batting but I still like the idea). I make sure to leave about 1-2 extra inches on the quilt bottom and batting. I have found that my quilts don't shift much and I usually end up cutting this off, but it is a safety measure.
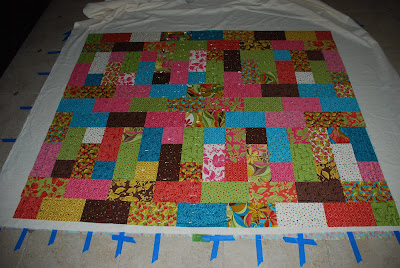
 Next, I lay the quilt top on top of the batting and center it leaving the 1-2 inches of batting / backing and if I have done any piecing on the back (which i usually do) I try to match it up where i would like it to be (i.e. center, etc). Then I cut off the extra batting around the quilt. i should mention that I like to buy my batting in bulk off the roll. It comes by the yard and is about 120 inches tall (i think) - I can usually get it around $6.00 / yard at Jo-ann's with a coupon. The extra leftover is perfect for baby quilts or smaller projects.
 Once I have trimmed the batting, I smooth out the top and start pinning. This is not fun on the tile floor so I try to go as fast as possible! I pin in rows about 2-4 inches apart and go from the center out. The more pins the less chance of puckering.
  After the pinning ceremony is completed I start working on the lines for quilting if needed. I chose a lattice design for this quilt crossing through the squares. To be exact i decided to lay down chalk lines. I do this is a very scientific way: I go to the garage and get my husbands 60" ruler from his construction days and lay it across the quilt matching corners as best as possible and using my chalk tool I draw lines. I have realized that once the quilting is done it's hard to find the crooked lines, so I guess it really isn't all that scientific at all - but I do find it extremely helpful to have the chalk lines as guides. Once this is done - it's off to the sewing machine with my walking foot - a must!


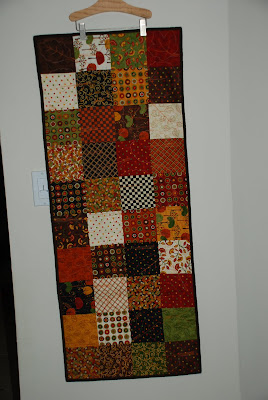 Up close you can see that I quilted a maple & oak leaf and then a tree pattern to match the shapes in the fabric.

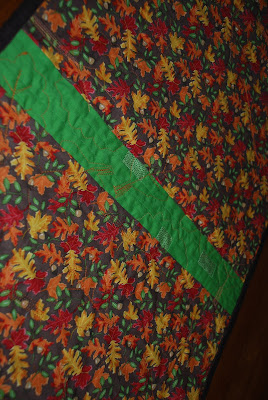 the entire back


